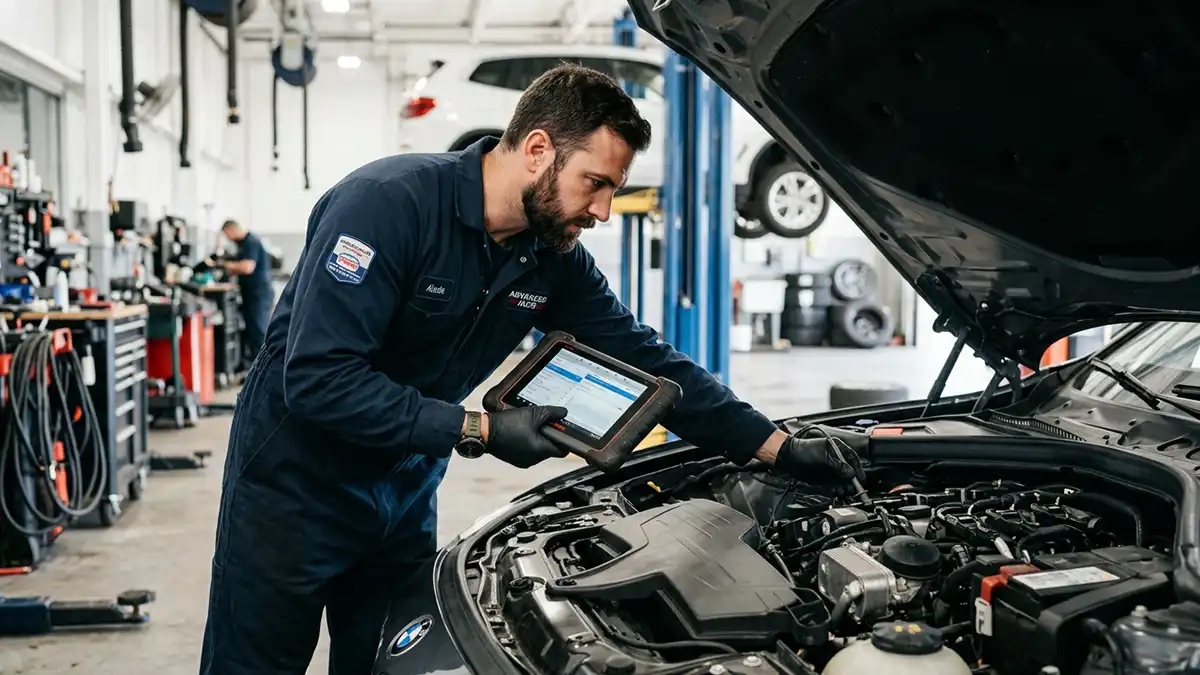
If your check engine light is on, the first question on your mind is usually “how much is this going to cost?” And the first charge you’ll see on the estimate is a diagnostic fee — commonly around $120, though it varies by shop and region. Before you pay it, it helps to know exactly what you’re buying. Here’s what a mechanic actually does when you drop off a car with the check engine light on, and why the diagnostic fee exists.
Step 1: Read the codes and freeze frame data
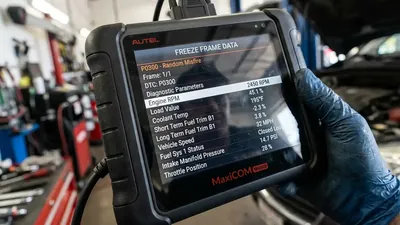
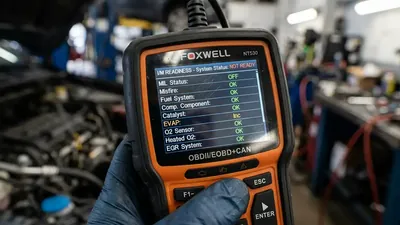
The process starts with the same step you’d do at home: plug a scanner into the OBD2 port and read the codes. But the mechanic’s scanner does more than yours. Professional scan tools read manufacturer-specific codes, live data from dozens of sensors, and the freeze frame data stored at the moment each code was set.
The freeze frame matters more than most people realize. If a P0300 (misfire) code shows a freeze frame at 55 mph under load, the mechanic knows the fault happened at highway speed — a different checklist than a misfire recorded at idle. The codes themselves are a starting point, never a diagnosis: plenty of cars roll in with a P0420 (catalyst efficiency) code that turns out to be caused by a failing oxygen sensor, not a dead catalytic converter.
Step 2: Research the code
No mechanic memorizes every code for every vehicle. After pulling the codes, they look up the exact code for your make and model in their database. That research covers:
- What the code means for your engine, not just the generic definition
- Manufacturer technical service bulletins (TSBs) describing known issues
- Common causes ranked by likelihood, and the factory test procedure
This is one part of the job you can’t easily do at home with a free code list. The generic definition of a code — “system too lean,” for example — rarely tells you where to start; the manufacturer’s diagnostic procedure does.
Step 3: Inspect what’s obvious
Before any deep electrical testing, a good technician physically looks. They check for loose or cracked vacuum hoses, corroded or broken wiring, oil leaks near sensors, and air intake restrictions. This step catches a surprising share of problems cheaply — sometimes the “diagnosis” is a $2 hose that popped off, and the fee reflects the time spent finding it rather than the cost of the part.
Step 4: Test with live data
If the code isn’t obvious, the mechanic watches live sensor data while the engine runs. This is where diagnosis gets real. For example:
- A P0171 (lean) code: the technician watches fuel trims to see whether the engine is consistently adding fuel, and checks for unmetered air entering the intake.
- A P0300 (misfire) code: they check spark output, fuel delivery, and compression — often moving coil packs or injectors between cylinders to see if the misfire follows the part.
- A P0401 (EGR flow) code: they command the EGR valve open with the scan tool and watch whether the engine responds as it should.
Scan tool data can also be recorded while the car is test-driven. Intermittent problems that never appear in the shop sometimes show up clearly in a recorded data log from a ten-minute drive.
Step 5: Verify the fix
A diagnosis isn’t finished when the part is replaced — it’s finished when the problem is confirmed gone. The mechanic clears the code, runs the engine through its operating range, and often performs a drive cycle to let the computer re-test the system. If the code comes back during verification, the diagnosis was wrong, and good shops keep testing rather than calling the job done. This verification step is a big part of what separates a real diagnosis from a parts-swapping guess.
Why the diagnostic fee exists (and what it covers)
The diagnostic fee — the “$120” in the title, though it commonly ranges from about $80 to $200 depending on the shop, the vehicle, and your region — pays for time, tools, and knowledge, not parts. Here’s what it actually covers:
- Time: an honest diagnosis often takes one to two hours of scanning, research, inspection, and testing.
- Tools: professional scan tools cost thousands of dollars, and shops spread that cost across diagnostic fees.
- Experience: knowing where to look on a specific vehicle is skill developed over years, and it’s the main thing you’re paying for.
The fee is almost always applied toward the repair if you approve the work at the same shop. If the fix is a $400 part plus labor, the $120 typically comes off the total — you pay the fee only if you take the estimate elsewhere or decline the repair. Some shops waive the fee entirely if the cause turns out to be something tiny like a loose gas cap (which often shows up as an EVAP code). Ask how the fee is handled up front; a reputable shop will tell you plainly.
When you shouldn’t have to pay
There are a few situations where a fee is harder to justify:
- The shop quoted a free check-engine-light inspection and then adds a fee for “diagnosis” of the same code.
- The fee was never disclosed before work began. You’re entitled to approve the charge first.
- The “diagnosis” was just reading a code and quoting the most expensive fix without any testing — that’s guessing, and you’re paying for the mechanic’s judgment, not a code read.
You can also skip the fee entirely if you come prepared: pull the codes yourself, write down the freeze frame data, and note when the light comes on (cold start? highway? after rain?). That information genuinely shortens the mechanic’s work, and an honest shop will often charge less for a faster diagnosis.
How to get the most from your diagnostic visit
To make the visit smooth and keep the fee fair:
- Bring the code numbers you read at home — they give the shop a head start, and if the light went off, the stored code is still there to read.
- Describe symptoms, not guesses. “It stumbles when accelerating up a hill” helps a technician far more than “I think it’s the fuel filter.”
- Ask for the diagnosis in writing before approving repairs, and ask what the fee covers and whether it applies toward the repair.
The bottom line
The diagnostic fee is paying for a trained professional to find the actual cause of your check engine light — not just read the code. When it’s done honestly, it saves you from paying for unneeded parts, which is a bargain compared to replacing a $1,200 catalytic converter for a problem that was actually a $150 oxygen sensor. A fair shop will explain what they found, show you the evidence, and credit the fee toward the fix.
Frequently asked questions
Is the diagnostic fee refunded if I get the repair done there? Usually yes. Most shops apply the diagnostic fee toward the approved repair cost, so you only “lose” it if you take the estimate elsewhere or decline the work. Confirm the policy before they start.
Can I avoid the diagnostic fee by reading the codes myself? Partly. Pulling your own codes and freeze frame data gives the mechanic a head start, but the fee pays for testing and interpretation beyond the code read — things like live sensor data and manufacturer procedures. You may still pay a reduced fee, and you’ll have a better idea of whether the quoted repair makes sense.
Why is the fee so high when the scan itself takes five minutes? Because the scan is a small part of the job. Most of the time goes into researching the code for your specific vehicle, inspecting parts, testing with live data, and verifying the fix. You’re paying for the diagnosis, not for plugging in the scanner.